Showing posts with label pool. Show all posts

Friday, October 23, 2015

How to : Improve Pool Deck | Behr Concrete Stain

Before & After 

We recently purchased a new home.  It has a ton of great features, but it needs a bit of work.  The first task we decided to tackle was the pool and pool deck. 


The pool prior to any change.  


The first thing we did was drive down to the pool supply store and purchase a ton of chlorine and other pool cleaning supplies.  I have no idea how much my husband put in the pool, but it made a huge difference almost immediately.  

My husband took a deck broom and scrubbed the pool deck with chlorine.   This cleaned the deck, but also prepared it for the concrete stain.

The husband scrubbing.

The cleaned pool deck.  

My Father-in-law already owned the Behr Concrete Stain in the color Fresh Cement.  It's what he uses on his pool deck.  He brought what he had over for us to test out.  

Although, it was a huge improvement it wasn't exactly what I had in mind (I wanted white).   The stain soaked up in the patio and required quite a few coats.  

Behr Concrete Stain in Fresh Cement.

We ended up going to Home Depot to purchase 5 Gallons of the concrete stain along with a fluffier roller brush (to soak up the stain better). 

Standing on the Behr Concrete Stain in Fresh Cement.

We chose the Behr Concrete Stain in Ultra Pure White 6050.  I still took a booklet home to make sure that I made the right decision.  I did!


And two liberal coats later we had a very white pool deck! I don't think it could have turned out any better.  

Behr Concrete Stain in Ultra Pure White 6050


Another view of the Behr Concrete Stain in Ultra Pure White

We still have a lot to do on our house and I would love to take you all on the journey with us!

If you have any questions about the Behr Concrete Stain feel free to comment below.  It was a very easy product to use and it made a huge improvement.  

Thanks for checking this post out!


Thursday, October 22, 2015

How to : Pot A Plant


I have been plant obsessed lately. Well, over the weekend there was a Plant Festival.  Naturally, I had to go.  I packed up my son at 7:45AM and we made our way down to buy some plants.  


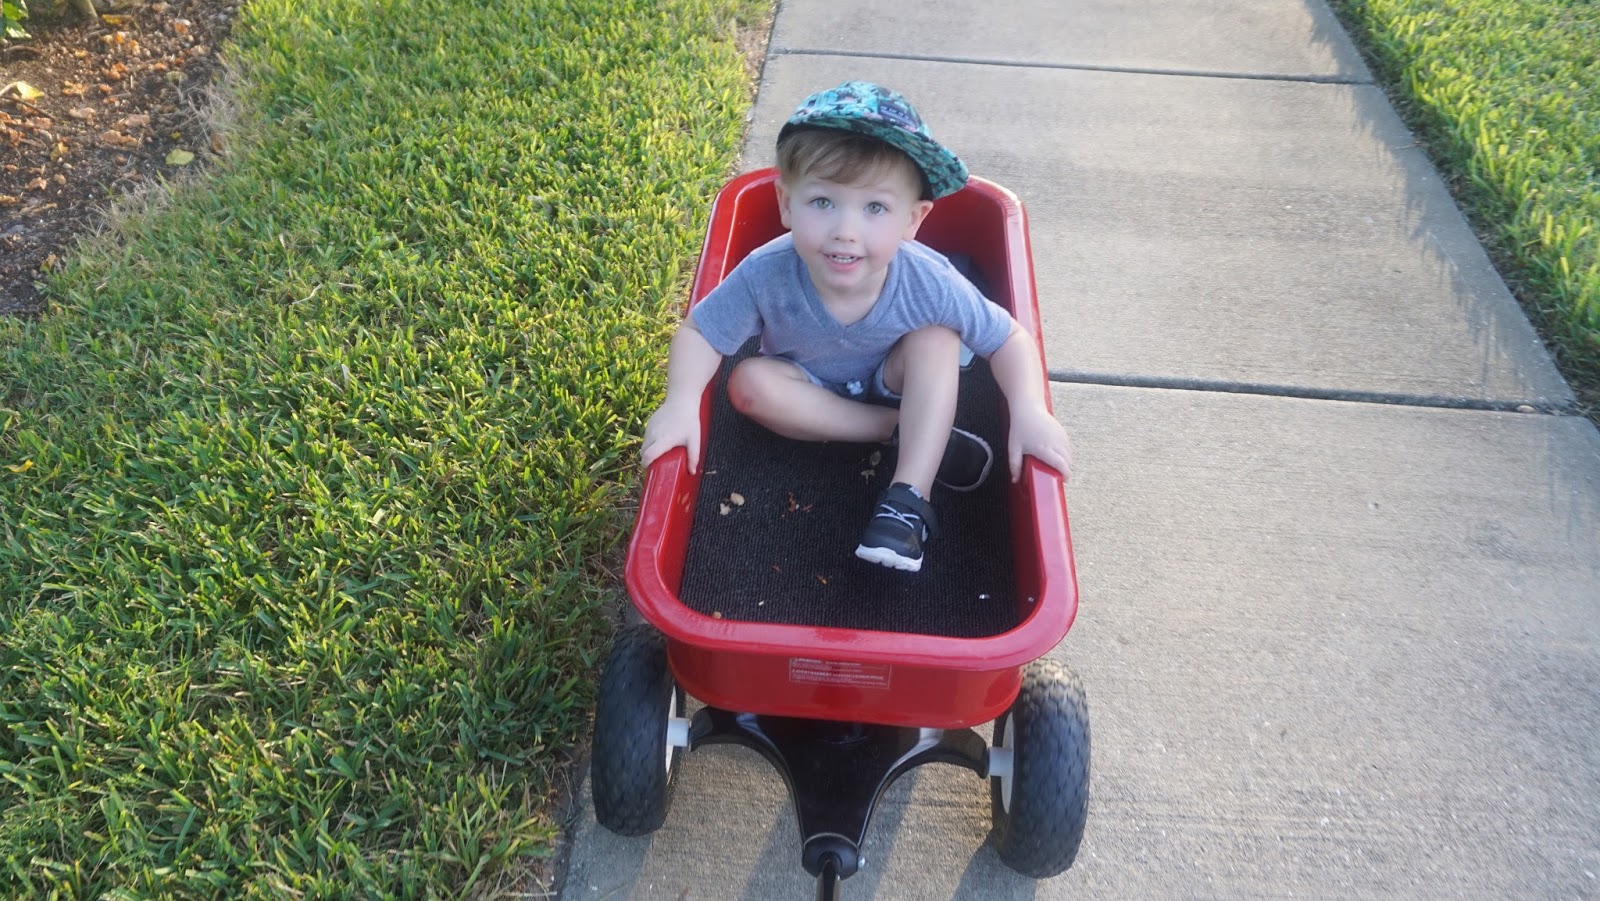
Graham had never rode in his Radio Flyer before.  He seemed to enjoy it.  He had a bottle of water, a toy truck and some peanuts (to feed the birds and squirrels along the way).  


When we arrived he wanted to pull the wagon.  


We left with White Birds of Paradise.  They were 3 for $20.  It was a deal that I could not pass up.  I love these plants because of their huge palm like leaves.  

We have a lot of work to do on our new house.  And I'm not really sure where I want to plant these at the moment because they get HUGE (10'-20')! So, for now I am just going to pot them.   I also thought this could be a great opportunity for me to start blogging again.

Now let me show you How I Pot My Plants: 


Step 1 :  I measured the plastic pots that the plants were in originally.  They were roughly 9" in diameter and height.  

I went to a local nursery and purchased these terracotta pots.  They are roughly 15" in diameter and height.  I wanted something larger that gave the plants some extra growing room.  


Step 2 :  I took the plant to check and see roughly how much potting soil I need to put in the bottom of the pot to get it to the right height.  


Step 3 : I took a rock and placed it at the bottom of the pot to cover the hole.  I don't know if you can tell from the photo, but this rock is U-shaped and covers the hole, but it's still lifted to allow water to escape.   You can also use wire mesh. I just didn't have any at the moment.   

This step keeps the potting mix in while still allowing water to escape.  


Step 4 :  I filled the bottom of the pot with potting soil.  


Step 5 :  I'm just checking to make sure the plant will be at the right height.  


Step 6 :  I'm tapping all the sides of the plastic pot.  This helps loosen the plant for easier removal.  


Step 7 :  The plant is out!


Step 8 :  I broke up the roots to give them a little room to grow! 


Step 9 : I'm centering the plant into the pot.  


Step 10 :  I filled and patted the gaps with potting mix.  


Step 11 :  Completely Saturate the Plant.  


Step 12 : All Wet! 


All Done!


I hope you all enjoyed this post!  Thanks for checking it out!